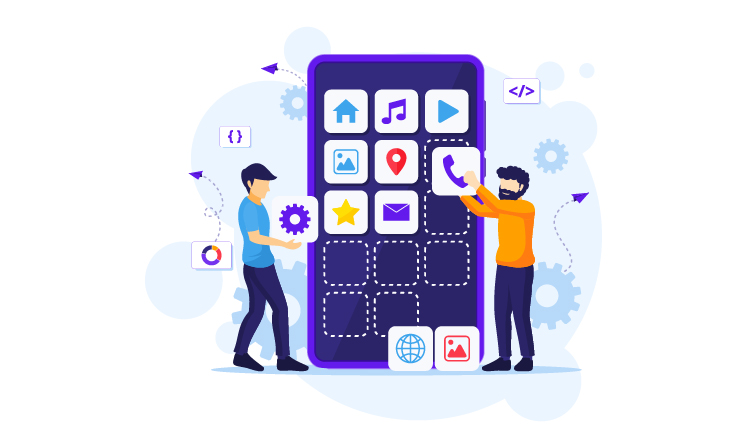
Android App Development Roadmap – A Guide
Android App Development Roadmap – A Guide
Blog Article
Explore the ultimate Android app development roadmap, covering key steps from planning to release for building successful, user-friendly apps.

Developers with the help of solid roadmap helps to manage resources and timelines, leading to better user experiences and smoother app functionality. It helps the developers to track progress, collaborate effectively and deliver high quality apps as it provides an overview of all the tasks involved. A solid, well-defined roadmap can help developers to meet deadlines and also avoid costly mistakes, by ensuring that their product aligns with the business goals as It includes not just the technical aspects, but also user-centered design principles. This can be crucial for creating a great user experience and integration of both functionality and design aspects, developers can create apps that are both effective and enjoyable for the end users.

Step 1: Learning the Basics of Android App Development Roadmap
Before starting any map for the Android app development process, it is advisable to get a ground-up comprehension of different programming fundamentals. The key programming languages useful in Android development include:
1. Java
An old school language with a massive choice of libraries and community support best for object-oriented programming and Android APIs. For years before Android, Java has been the heart and soul of Android and on mastering it, you will have an opportunity to understand the underlying mechanics of the platform.
2. Kotlin
Google’s preferred programming language, with phrasing that is more concise, null-safe, and turns out to be interoperable with Java. Over the time, Kotlin has taken Android app development by a storm, championing advantages such as reduced boilerplate coding and increased productivity.
Learning coding from the ground level, including variables, loops, data structures, and algorithms, in effect is the foundation of building functional Android apps. Along with that, be sure to walk through the principles of basic OOP things, like inheritance, polymorphism, encapsulation, and abstraction, which, in turn, are useful for writing clean, maintainable code. Also, while learning these principles, you can build applications that are both robust and scalable. Besides, having the knowledge about debugging and error handling can properly help troubleshoot when something goes wrong during development. All this gives you a mere boosting effect on learning how to develop high-quality Android applications.
Step 2: Setting Up Your Development Environment
The importance of setting up your development environment cannot be stressed enough, especially in easing your development roadmap for Android app development. So, here are some of the steps to follow:
- Android Studio Setup: For the development process, download and install Android Studio, which is the official IDE for Android development. Android Studio is equipped with an emulator, UI designers, code linting features, etc., to smoothen the development process.
- SDK Installation: The next step is to install the Software Development Kit (SDK). This kit has libraries, tools, and APIs necessary for Android app development. It will help your app in communicating with Android devices while utilizing the whole functionality available built into the platform.
- Emulator Setup: Set up an emulator to serve as an intermediate step between your Android app and the physical devices. The emulator enables testing of apps on different Android devices without requiring physical devices. You can set the emulator screen size and Android versions to reflect what is on the targeted devices.
Tools for Android Developers:
Android development requires a number of tools to ensure productivity and code quality. Development activities would require tools such as Gradle for build automation, Git for version control, Postman for API-testing. Version control is key for tracking changes, keeping teamwork smooth, and maintaining solid documentation throughout a project.

Step 3: Understanding Core Components of Android App Development
Android applications are made of a variety of core components that the developers must understand in order for them to make fully functional applications. The core components are:
- Activities and Fragments: They represent individual screens or views within an app; fragments allow modular UI pieces that can be reused across activities. Learning how to handle these components allows for smooth navigation throughout the application.
- Services: These run in the background, playing music, downloading updates, or processing data. For this reason, services allow long-running operations to be performed without blocking the UI thread, thereby maintaining a smooth user interface.
- Broadcast Receivers: Broadcast receivers are those which take action on system-wide events like low battery notifications, incoming calls, or changes in network connectivity. These will be the components to use to keep your application responsive to external triggers and events.
- Content Providers: Content providers are special applications used to share data between applications; they allow secure access to and modification of data. By providing you with content providers, you can access external data sources while still protecting data security and privacy to an extent.
These components interact within the app, allowing it to function as a unified entity. For instance, a social media app may use services, broadcast receivers, and activities together to display feeds, manage notifications, and handle background tasks. In addition, learning architecture patterns like MVC (Model-View-Controller), MVP (Model-View-Presenter), and MVVM (Model-View-ViewModel) is crucial for maintaining a clean and scalable codebase. Understanding these patterns helps developers break down complex functionality into more manageable parts, leading to more maintainable and testable code.
Step 4: Designing UI with XML & Material Design

- XML Layout Files: UI components such as buttons, text fields, images, and containers are defined in Android using XML. XML syntax and how to organize layouts for a structured interface must be learned and applied. As a result, one also needs to know how to deal with UI elements in a programmatic manner, which makes the interface responsive and operable.
- Material Design Guidelines: Google’s Material Design provides a set of principles for creating intuitive and visually appealing interfaces. It focuses on usability, simplicity, and consistency. Following these guidelines helps developers create apps that align with modern design trends and provide users with a seamless experience.
- Responsive Layouts: Use Constraint Layout and Grid Layout to create layouts that adjust to various screen sizes and orientations. Responsive design is important to ensure that your app functions well on different devices, from smartphones to tablets. The goal is to create adaptive layouts that provide a consistent experience for all users.
The objective is to create interfaces that are not only aesthetically pleasing but also user-friendly and efficient to navigate. To achieve this, you can test your app’s UI across multiple devices using the Android Emulator and Layout Inspector tools. This, in turn, ensures consistency and responsiveness. Moreover, testing design elements such as text sizes, button placements, and icon sizes will further enhance the overall UX. Ultimately, these steps will help create a seamless and engaging user experience.
Step 5: Implementing Functionality with APIs and Databases
For your Android app to function properly, it often needs to communicate with external services or store data locally. This is where APIs and databases come into play.
- Integrating APIs: APIs (Application Programming Interfaces) enable your app to retrieve data from external services. For example, a weather app may use an API to retrieve current weather data, or an e-commerce app may integrate payment gateways. Knowing how to interact with APIs boosts your app’s utility by providing real-time data.
- SQLite Database: For local data storage, Android provides SQLite, a lightweight database engine. It allows you to store and retrieve data, such as user preferences, offline content, or app settings. You should learn how to create, read, update, and delete records in an SQLite database for effective data management.
- Cloud Databases: Cloud services like Firebase provide real-time database functionality, cloud storage, and authentication. Firebase simplifies the development process by providing integrated tools for handling back-end services. With Firebase, developers can also monitor app usage and engagement metrics, making it a powerful tool for app growth.
- RESTful APIs: Many contemporary Android applications integrate with RESTful APIs to fetch and manage data. Libraries like Retrofit or Volley help developers handle HTTP requests and responses efficiently, enabling smooth data retrieval and transmission. Understanding how to parse JSON and handle asynchronous network operations is a vital skill in this process.
Step 6: Testing Your Application Effectively Before Launching it on the Play Store
Manual vs. Automated Testing: Both manual and automated testing are important for quality assurance. Manual testing allows you to explore the app and identify issues that may not be caught through automated tests. Automated tests help verify the app’s core functionality consistently across multiple devices and environments.
- Unit Tests: Unit testing involves validating individual functions or methods to ensure they work as expected. It’s essential to catch bugs early and ensure each piece of code functions independently. Use frameworks like JUnit and Mockito to perform these tests effectively.
- UI Tests: UI testing involves checking how the app responds to user interactions. You need to ensure smooth navigation, responsive touch elements, and intuitive user flow. Tools like Espresso help in automating UI testing and validating the user interface.
- Debugging Techniques: Android Studio’s debugger, along with tools like logcat, can help identify and resolve issues quickly. Debugging is an ongoing process, and effective use of these tools is crucial for a successful app launch. Use breakpoints, step-through debugging, and watch variables to identify the root causes of bugs.
- Testing Best Practices: Always test your app across different devices, screen sizes, and Android versions to ensure compatibility. Use tools like Firebase Test Lab to run tests on various devices and configurations. Emulators, cloud testing, and beta testers can provide valuable feedback before the official release.
Step 7: Optimizing App Performance for Better User Experience
- Memory Management:
- Battery Usage: Background tasks can drain battery life, so it’s important to optimize background processes and avoid unnecessary wake-ups. Using tools like Job Scheduler and Work Manager can efficiently schedule tasks without adversely affecting battery life.
- Network Performance: Optimize network operations by handling requests asynchronously. This ensures that your app remains responsive and efficient. Additionally, use caching mechanisms to reduce the need for repeated API calls, which will speed up app load times and enhance overall performance. As a result, these optimizations will improve the user experience and minimize delays.
- UI Optimization: Use scalable resources, such as vector images, to ensure that the app’s interface adapts to various screen sizes and resolutions. Reduce overdraw and unnecessary UI components to enhance rendering performance. Additionally, Optimizing your app’s start-up time will also improve user retention.
Step 8: Handling Different Android Versions and Devices in Your Android App Development Roadmap
With numerous Android devices and versions in the market, handling compatibility is a significant challenge.
- Target SDK Version: Your app must define a minimum SDK version, which is the lowest version of Android that the app supports. The target SDK version should correspond to the latest Android features.
- Device Compatibility: It’s crucial to ensure your app functions across different screen sizes, resolutions, and device configurations. To achieve this, test your app on real devices and simulators, accounting for the variations in hardware and software. Additionally, checking for responsiveness and performance on various devices will help deliver a consistent and reliable user experience.
- Runtime Permissions: From Android 6.0 (Marshmallow) onwards, Android requires apps to request permissions at runtime. Therefore, ensure your app handles permissions for features like the camera, location services, and storage correctly. This is important because a seamless experience is crucial for your users’ app adoption. Additionally, properly managing permissions will help build trust and enhance the overall user experience.
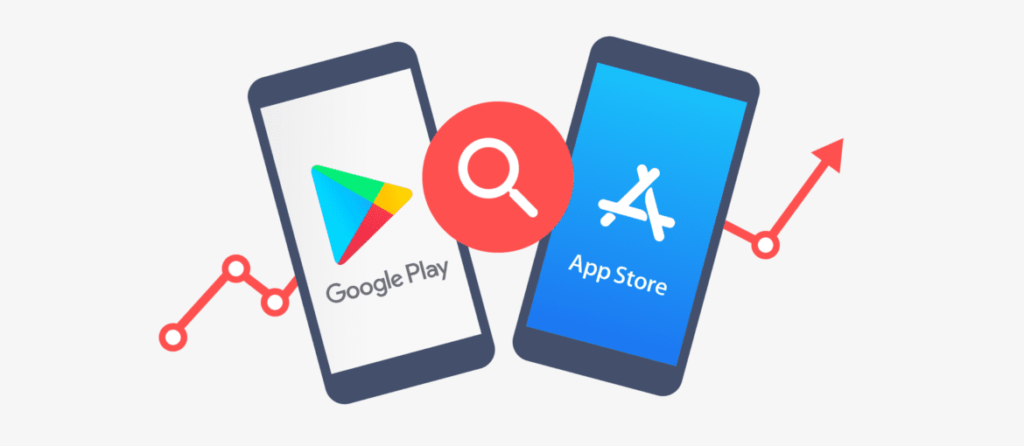
Step 9: Preparing for App Release and Launching on Google Play Store
After developing and thoroughly testing your app, the next step is to prepare it for launch.
- Building a Release Version: To prepare for the final release, you need to optimize your app by removing unnecessary debug code, reducing file sizes, and configuring signing keys for secure distribution. Moreover, it’s important to test the app thoroughly to ensure that everything runs smoothly and efficiently. Ultimately, by following these steps, you can ensure a polished, high-quality app ready for launch.
- Creating the Play Store Listing: When submitting your app to the Google Play Store, make sure to include a compelling title, detailed description, screenshots, and videos to attract users.
- App Rating and Feedback: After launching the app, it’s crucial to monitor user feedback, respond to reviews, and address any issues promptly. This will help improve the app and increase its rating over time.
Step 10: Continuous Improvement and Updates
After the initial release, the work doesn’t end; instead, continuous updates and improvements are essential to keeping the app relevant and maintaining user engagement.
- Bug Fixes: To ensure optimal performance, regularly monitor performance, fix bugs, and improve app stability using tools like Firebase Crashlytics for real-time crash reports. As a result, you can maintain a smooth and reliable user experience.
- New Features: Regularly add new features or improvements to keep the app fresh and engaging for users. Study user behavior to pinpoint areas that could be enhanced for a better experience.
- Engage Users: Regular updates, along with new features, ensure users remain engaged. Push notifications and in-app promotions can help maintain interest and drive downloads.
Conclusion: Take Action on Your Journey to Becoming an Expert in Android App Development!
Mastering Android app development requires dedication and a clear roadmap. Following these steps ensures a structured approach to creating functional and user-friendly applications. Continuous learning and improvement will contribute to long-term success in mobile app development.
Report this page